


Your Complete Guide to the Diode Laser Engraver

What Exactly is a Diode Laser Engraver
Diode laser engravers have revolutionized the world of laser engraving, making it accessible and affordable for hobbyists and small businesses.
Unlike traditional rotary engravers, which physically carve into materials, diode lasers use heat from a concentrated beam of light to burn, melt, or vaporize the surface, creating intricate designs.
These compact machines typically include a laser module, a gantry system for movement, a control board, and a power supply, offering a high level of precision for creative projects.
Over the years, diode lasers have evolved to make precision engraving more affordable and accessible, offering an excellent option for home workshops and small-scale operations.

How Do Diode Laser Engravers Work
A diode laser engraver directs a highly focused laser beam onto the material.
The intense heat generated by the beam interacts with the surface, removing material to create an engraving or cutting through the material.
Precision is key, as the laser is concentrated by lenses to a tiny focal point, enabling incredibly detailed work.
The design is created in software such as LightBurn or LaserGRBL, and the laser's movement is guided along the X and Y axes.
Achieving the best results requires adjusting settings like laser speed, power, and the number of passes, which I've found are critical for producing crisp, clean outputs.

Advantages and Disadvantages of Diode Laser Engravers
Diode laser engravers offer several advantages, particularly for home users and small businesses.
- They are highly cost-effective to purchase and operate, compact, and user-friendly, making them an excellent choice for beginners.
- Their air-cooled design means that maintenance is relatively simple and doesn’t require bulky water chillers.
However, diode lasers do have limitations.
- They typically have less power than CO2 or fiber lasers, which results in slower processing speeds and fewer material options.
- Diode lasers are best for engraving and cutting materials like wood, bamboo, leather, dark acrylic, paper, fabric, and certain coated metals.
- For thicker materials or raw metal engraving, other laser types may be more suitable.
What Materials Can You Engrave and Cut with a Diode Laser
Diode lasers are highly versatile when it comes to material compatibility.
You can engrave a wide range of materials, including:
- Wood: Plywood, MDF, and solid wood.
- Bamboo: Ideal for intricate engravings and designs.
- Leather: Great for customizing accessories or fashion items.
- Acrylic: Works well, especially with darker colors.
- Paper & Cardboard: Perfect for crafting and custom designs.
- Fabric: Ideal for creating personalized textile items.
- Slate & Stone: Can be engraved for decorative effects.

For cutting, diode lasers excel with thin wood, specific acrylics, paper, felt, and thin leather.
However, they cannot engrave or cut transparent materials effectively, as the laser light passes through them.
Additionally, highly reflective bare metals usually require a special coating to be engraved effectively.
Key Features to Look for When Buying a Diode Laser Engraver
When choosing a diode laser engraver, consider the following key features to ensure you select the best machine for your needs:
- Laser Power (Watts): Higher wattage allows for faster and deeper engravings. This is crucial for processing thicker materials.
- Engraving Area: Ensure the work area matches your project size, whether for small items or larger components.
- Safety Features: Look for built-in safety features such as emergency stop buttons, flame detection, and limit switches. Always wear certified laser safety glasses.
- Air Assist System: An air assist system helps to reduce charring and improve the quality of cuts.
- Software Compatibility: Ensure the engraver works with popular software like LightBurn or LaserGRBL to streamline your workflow.
- Build Quality & Stability: A sturdy frame and high-quality linear rails ensure long-lasting precision.
- Ease of Assembly & Setup: For beginners, ease of assembly is important. A machine that’s easy to set up can save time and effort.
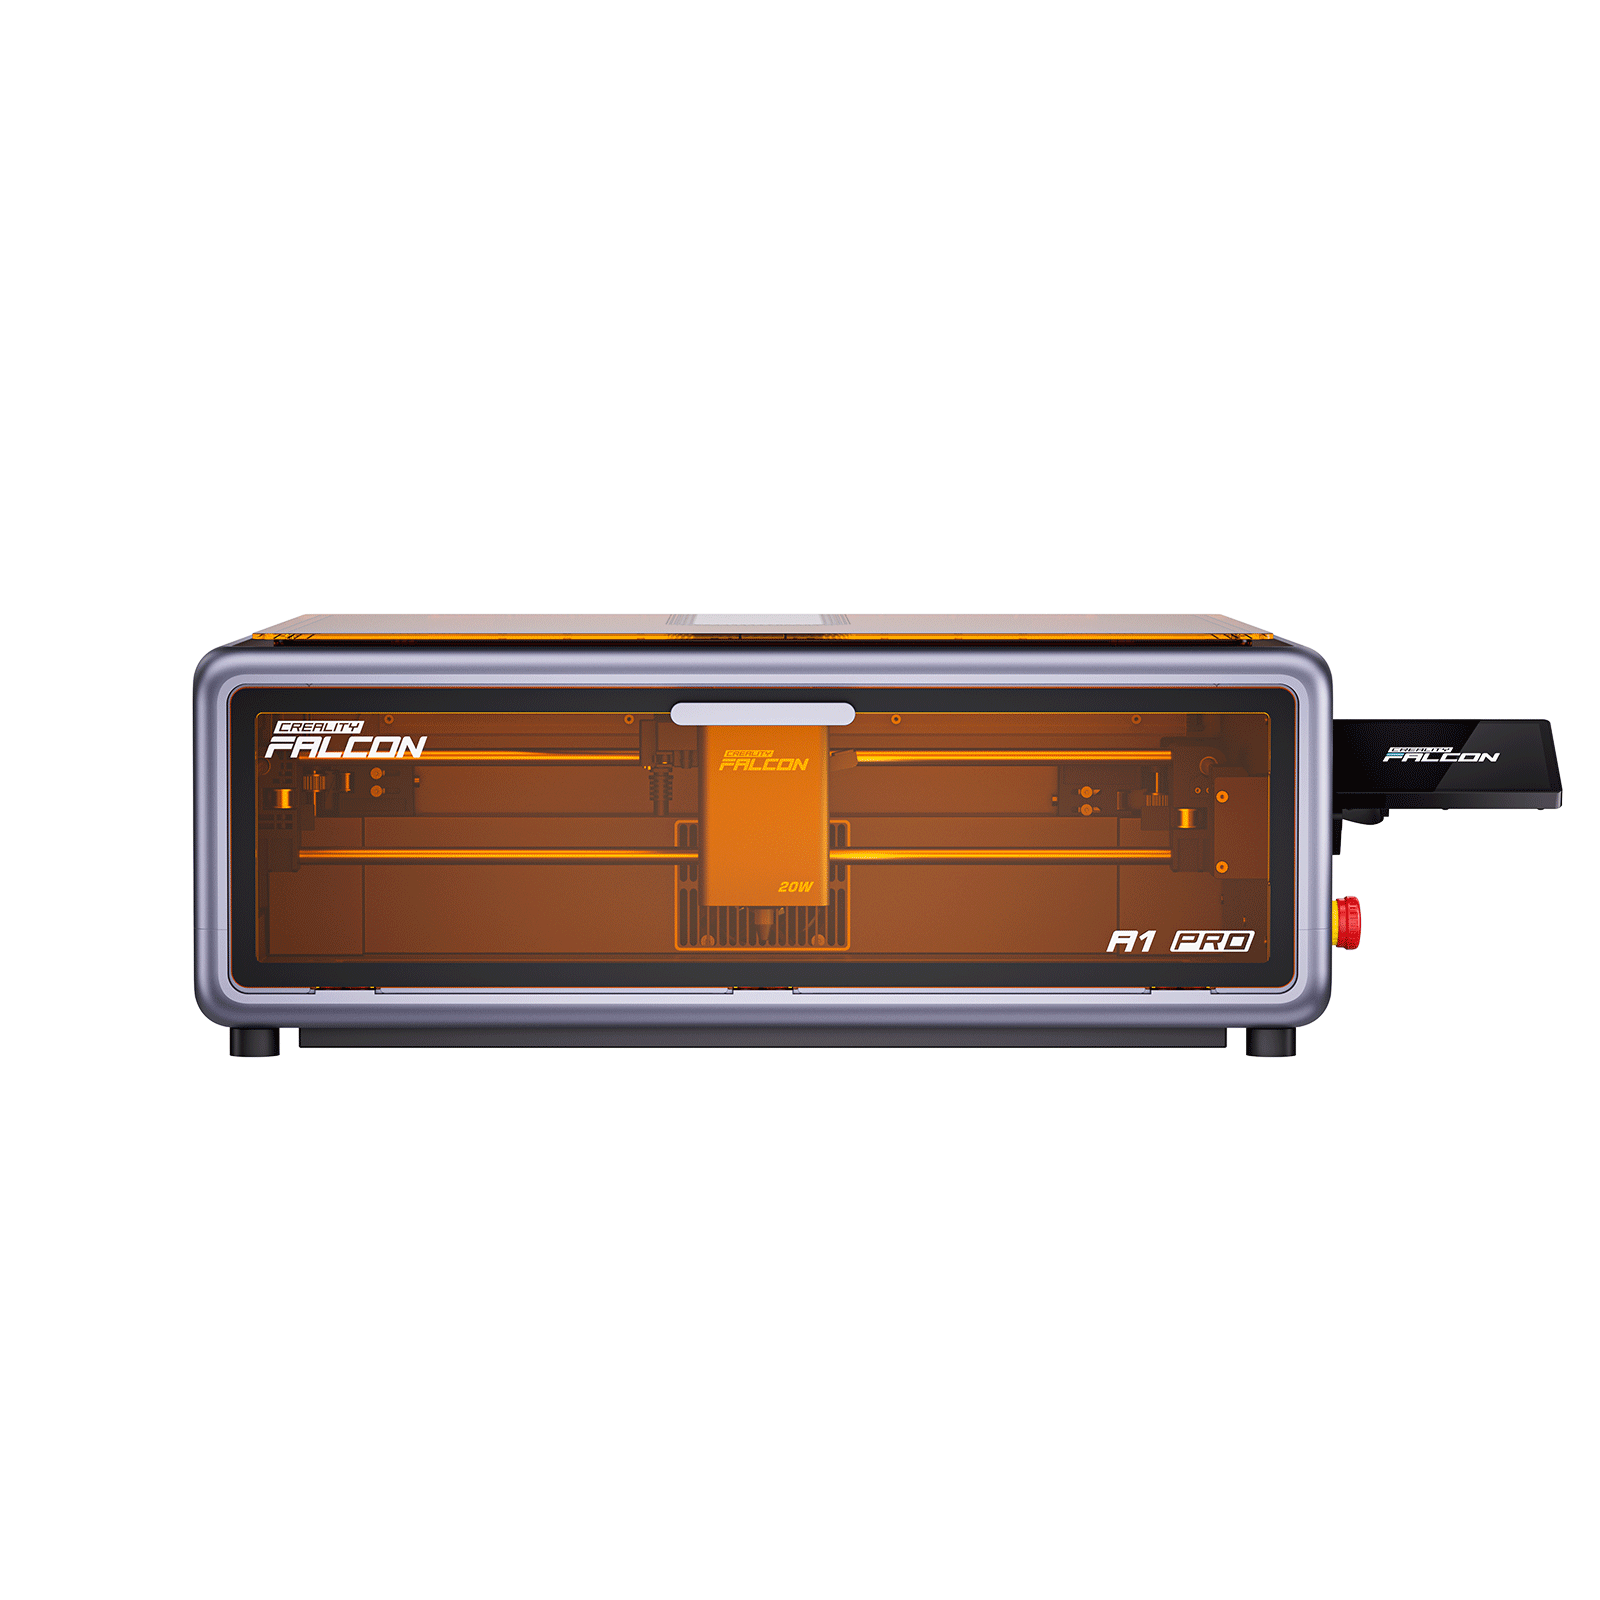
Creality Falcon Best-Fit Pick
Product: Creality Falcon A1 Pro 20W Laser Engraver

Why it’s a great fit:
- Equipped with a powerful 20W laser module, offering an excellent balance of detail and efficiency for engraving and cutting various materials.
- Features an integrated air assist system for cleaner cuts and reduced charring.
- Prioritizes user safety with an emergency stop button, flame detection, and a robust five-fold safety protection system.
- Provides a generous engraving area, making it ideal for a wide range of creative and professional projects.
Recommendation:
- Explore the Creality Falcon A1 Pro 20W to take your creative projects to the next level with its advanced features and reliable performance.
Safety First: Essential Precautions for Diode Laser Users
As with any laser equipment, safety is crucial. Always wear certified laser safety glasses with the correct Optical Density (OD) rating for your laser's wavelength to protect your eyes.
Ensure proper ventilation, as laser engraving produces fumes and particles. A good fume extraction system or a well-ventilated area is essential for safe operation.
Fire prevention is also key: always have a fire extinguisher on hand and never leave your machine unattended.
If possible, use a dedicated enclosure to contain fumes and stray reflections, providing an added layer of protection.
Getting Started: Tips for Your First Diode Laser Projects
Starting your first project can feel overwhelming, but it’s an exciting process!
After assembly, focus on calibrating the machine and ensuring the gantry is square and the focal length is correct.
For your first projects, try simple items like wood coasters, leather keychains, or paper designs.
These projects help you get comfortable with the machine’s settings without too much pressure.
Test your settings on scrap material to avoid common beginner mistakes, like over-burning or incomplete cuts.
Keeping a material settings library can save you time and reduce errors in the future.

Maximizing Your Diode Laser Engraver's Potential
Once you’re comfortable with the basics, consider exploring advanced software techniques, such as using grayscale for photo engraving or experimenting with dithering patterns for textured effects.
For extended functionality, consider adding attachments like rotary tools for engraving cylindrical objects or camera modules for precise material placement.
Regular maintenance is essential to ensure longevity—keep the lens clean, lubricate the gantry rails, and check the belts for tension.
Troubleshoot common issues, such as uneven engraving or incomplete cuts, by cleaning optics or adjusting settings.
Online communities and forums are also great resources for troubleshooting tips and creative ideas.
Recent News

LightBurn Test File Download Guide
This LightBurn test file guide covers why to run material tests, where to download reliable files, how to...

Best 9 40W Laser Engravers: Diode vs CO2 vs Fiber
Discover the 9 best 40W laser engravers, comparing diode vs CO2 vs Fiber models. Find the right 40W...

The 4 Best Desktop Laser Cutters for Indoor Use
Discover the top 4 desktop laser cutters for indoor use. Compare enclosed designs, ventilation features, and compact sizes...


